Want better WordPress SEO? Here’s a quick start.
You’ll hear from any number of folks about various tips and tricks to get your photography site to rank higher in Google and other search engines.
For most photographers, it really boils down to three things, two of which are simply understandings and the other of which is probably simpler than you realize. It doesn’t involve hiring an expensive consultant, and it doesn’t involve deceiving your readers.
This article should take about five minutes to read but will put you on the path for more search-friendly articles on your WordPress photography blog or website.
Let’s break it down.
Two Things to Understand About SEO for Photographers
First, search engine rankings are a long-term strategy. You can’t launch a new website and jump to the top of the search engine rankings in a couple weeks. You might start to see some traction after a few months. Photographers who consistently rank well in search have probably been working on it for a year or more.
Secondly, and this doesn’t just apply to search engines, you’ll be able to stand out more if you’ve identified what makes you and your services unique. In some business circles this is known as the unique selling proposition, but it boils down to this question: how are you different from all of your competitors? If you can’t identify how you’ll stand out among your peers offline in conversation, what makes you think you can stand out online?
Using WordPress SEO by Yoast
Now that you’re in the right mindset, let’s look at a free tool that can help with SEO for your photography website. That tool is a WordPress plugin called WordPress SEO by Yoast. It’s one of the most popular plugins[1], and it works well to help you optimize your blog posts to rank well for search. There are a bunch of options, so let’s start with a quick look at where you might want to change some settings. After installing the plugin, you’ll see these menu items:
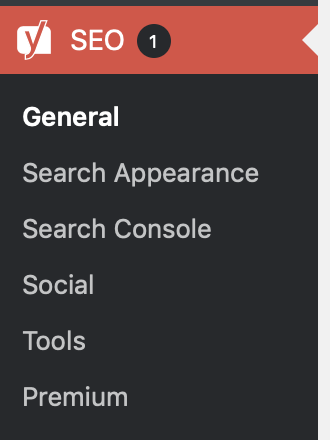
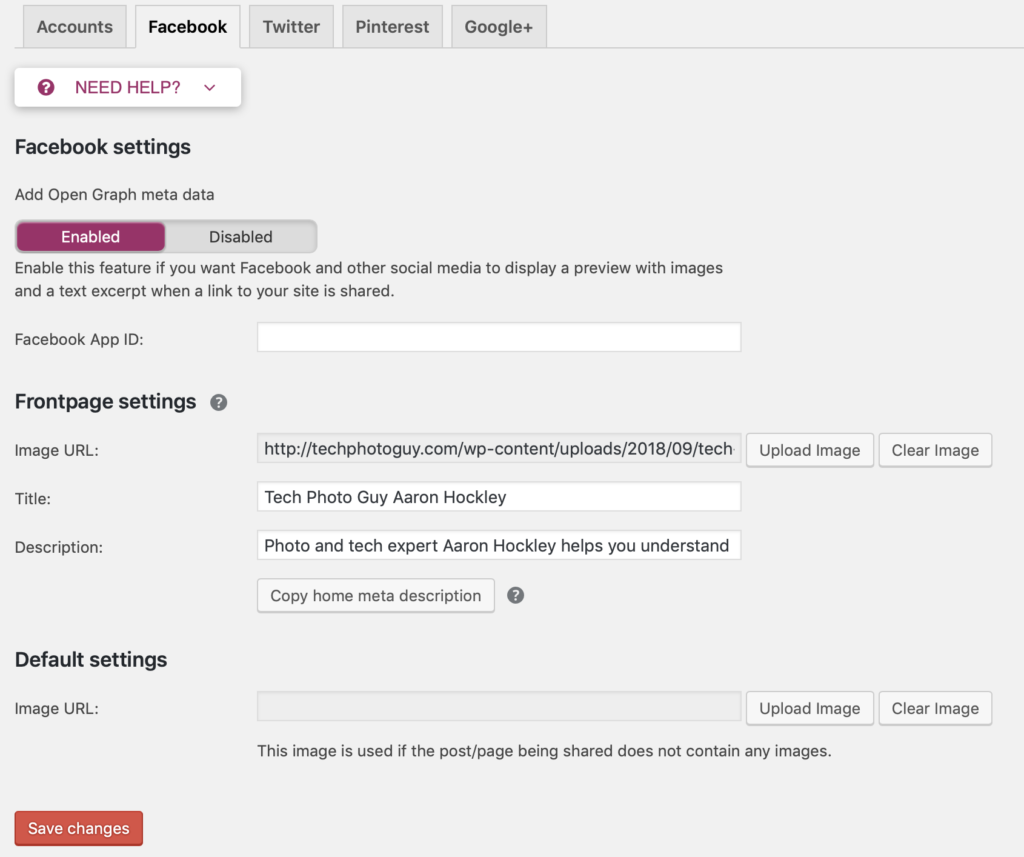
Click on Social and then the Facebook tab at the top of the screen. Here you are:
Since Facebook is an important sharing mechanism for most photographers, we’ll add a bit of good Facebook mojo here. Make sure that “Add Open Graph meta data” is checked at the top of the screen (purple circle in the screenshot above). Drop the data shown on Facebook when someone posts a link to your home page by filling out the middle section of this screen. If you want to specify a default image for posts without images, that’s the last option. I haven’t done that since every post here has a featured image.
That’s all we’re going to worry about as far as settings… let’s get into how you actually make use of the plugin for writing better blog posts. This might look like a lot of work, but once you’ve done it a few times it only adds a couple minutes to your writing process.
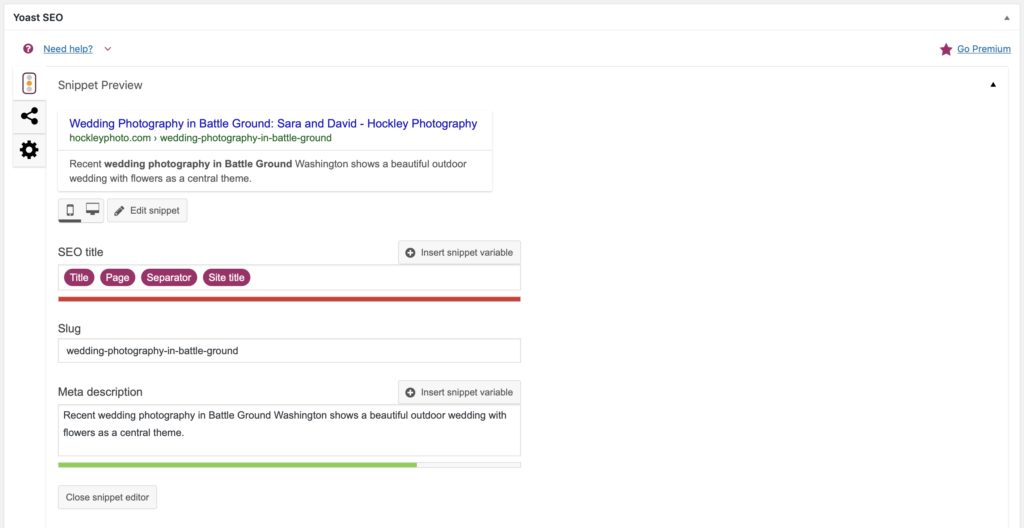
When you write a new blog post, you’ll find a new box for SEO below the WordPress post editor, like so:
Choosing Your Focus Keyword
I’ve completed some of the information here, but for a quick SEO win, you’ll want to start by filling in the focus keyphrase box – this is the term that you want to target. Think about what a potential web visitor might search (and that you’d want them to land on this page). For this example, I’m pretending that I do wedding photography in Battle Ground, a town a few miles from where I live.
Think about the search terms someone might use, and remember: the more specific, the better. While it will be hard to be ranked high for a generic term such as “wedding photographer” or “event photography” or “lighthouses” you would be wise to focus your efforts on more specific terms such as “wedding photographer <city name>” or “event photography at <venue name>” or “oregon coast lighthouses” &emdash; you get the idea, right?[2]
Working Through the Tasks
After you’ve chosen your focus keyword, the plugin will give you a quick check (shown above) indicating whether that focus keyword appears in various important places such as the post title, the URL, and in the content. Ideally you see all green “Yes”s here. If not, try to include your keyword in these places.
When you think you’re ready, save the post as a draft and you’ll see that you get a little colored indicator that will tell you how you did with optimizing the article for SEO. In this case, I’ve done ok, but not great:
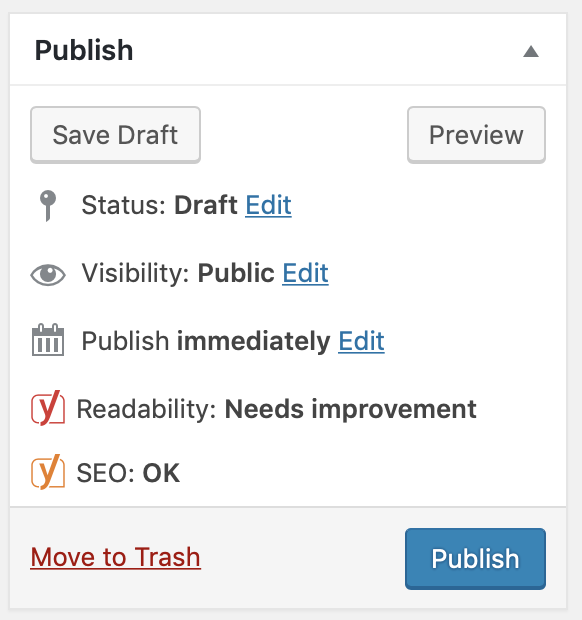
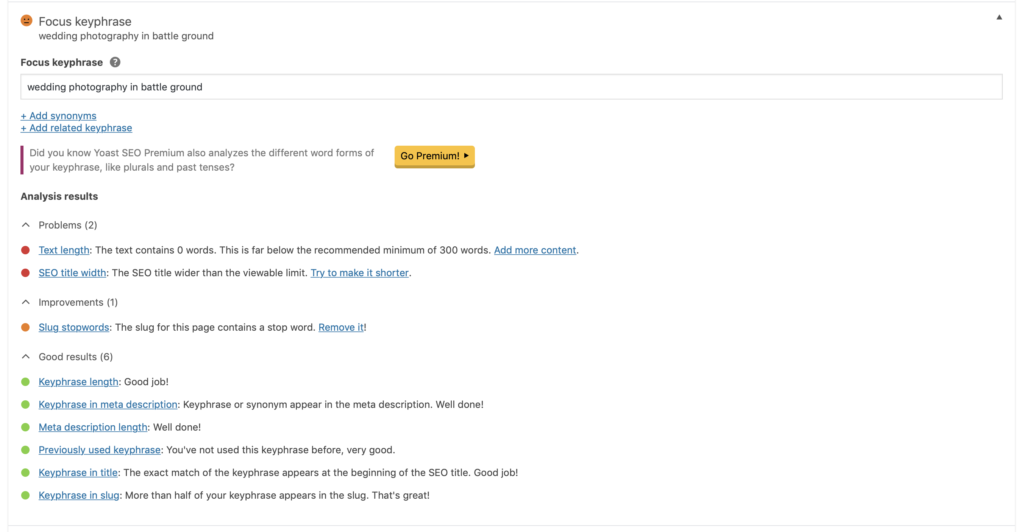
From here, click the “Check” link and you’ll be given a task list, with issues broken down by status: a red circle means it’s something important you’ve missed, a orange/yellow circle indicates a less-severe issue that might need some attention, and a green circle indicates things that look good for SEO. Here’s an example of what that list might look like:
At this point you have a checklist of things to work through. After you resolve an issue and save as draft, you’ll see the color of the indicator change. Once you see green, you’re good to go! Schedule or publish that post, knowing that it’s likely to bring you some search traffic for months and years to come.
As noted, this is merely a quick introduction to using the Yoast WordPress SEO plugin, but if you hit these key points, you should see increased referrals from Google and Bing.
-
Since it’s a plugin, you’ll need to be running your own copy of WordPress on a web hosting account to install the plugin. If you’re using WordPress.com, you’re not able to install plugins. Not sure what this means? See my web hosting guide. ↩
-
If this concept intrigues you of why specialization is king on the web, check out a book and a concept called The Long Tail
. ↩

Leave a Reply